

 English
 German
 French
 Russian
 Spanish
 Japanese
 Korean
 Portuguese
 Ukrainian
 Arabic
 Italian
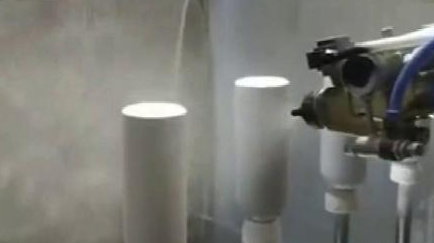
1. Degreasing and degreasing. Firstly, it is necessary to remove the grease and dirt on the surface of the insulation cup, and use chemical solvents for degreasing treatment to ensure that the surface is clean and free of oil stains.
2. Electrostatic dust removal. Use an electrostatic precipitator to remove dust and impurities from the surface, ensuring a clean surface before painting.
3. Spray primer. Spray a layer of primer on a clean surface to increase the adhesion and corrosion resistance of the paint layer.
4. Drying. After spraying the primer, dry it to ensure that the primer firmly adheres to the surface of the insulation cup.
5. Spray topcoat. Spray topcoat on the primer to enhance aesthetics and protective layer.
6 leveling. Let the topcoat level on the surface to form a smooth surface.
7. Drying. Dry again to ensure that the topcoat adheres firmly.
8. Spray gradient color effect. If you want to create a gradient effect, first spray a dark color as a shadow, and then spray a bright color as the main body. Pay attention to repeating the spray on the bright color to gradually cover the base color, but keep some of the base color to form a gradient effect.
9 Mixed colors. Add yellow and orange to the red color to create a high color red, used for spraying the brightest part.
10 waxing. After painting, the product is left to dry and then subjected to waxing treatment to form the final protective layer.